How to Install Geocell Ground Grid?
Grade and compact the subgrade, place geotextile if needed, expand and pin the geocell ground grid, connect panels, fill with approved aggregate or soil, compact in thin lifts, and finish drains and edges for long-term stability.
You will see the exact prep, anchoring, infill, and compaction methods used on roads, yards, and slopes. You will also learn when to choose HDPE geocell vs PP geocell for strength, creep control, and chemical resistance.
What prep do you need before installing a geocell ground grid?
Soft spots, poor drainage, and rough grading slow crews and raise costs. Clean prep gives you faster installation and better performance.
Site prep is simple: strip organics, shape grade, proof-roll, undercut weak areas, compact to spec, and add a geotextile separator when soils are fine or saturated. This gives the geocell grid a stable, uniform base.
Dive deeper
A geocell relies on uniform support. Start by removing organics and debris so the geocells sit flat. Cut high points and fill low points to achieve plan grade (±10–15 mm). Proof-roll with a loaded vehicle or roller to find pumping zones. Undercut any yielding pockets and replace with granular material compacted in 150–200 mm lifts. On silty or clayey subgrades, place a nonwoven geotextile separator (AOS matched to soil D85–D90) to stop fines from migrating into your base. Check moisture; near-optimum moisture content speeds compaction and reduces rutting during construction traffic. Mark utilities, water flow paths, and the planned edge restraint line before you start. Stockpile infill near the work front to cut cycle time. Confirm access for plate compactors and small rollers because you will compact inside cells in multiple passes. This prep eliminates rework, helps the geocell ground grid distribute load, and reduces total infill volume because the cells do not waste stone filling ruts.
| Prep item | Target | Why it matters |
|---|---|---|
| Subgrade density | ≥95% Std. Proctor (project spec) | Limits settlement and rutting |
| Grade tolerance | ±10–15 mm | Uniform cell height and infill depth |
| Separator geotextile | AOS vs soil, adequate gsm | Prevents fines pumping |
| Proof-rolling | No visible pumping | Finds weak zones early |
How do you place and anchor the geocell grid?
Panels can creep or shift if you do not open, align, and pin them correctly. Good anchoring makes installation fast and predictable.
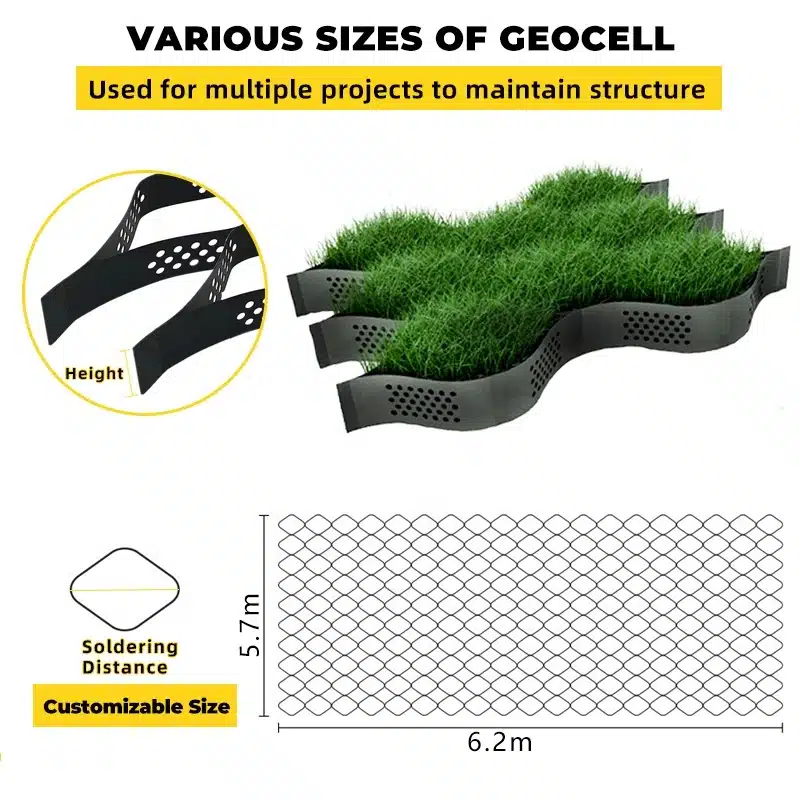
Expand the geocell evenly, align to string lines, connect panels tightly, and stake perimeter and seams before loading infill. Use more anchors on slopes and soft ground.

| Condition | Anchor type | Spacing guide |
|---|---|---|
| Flat, firm subgrade | 12–16 mm rebar pins | 1.0–1.5 m at edges/seams |
| Flat, soft subgrade | Rebar pins + washers | 0.8–1.0 m |
| Slopes ≤1V:2H | Rebar pins (top/bottom rows) | 0.6–0.8 m; add crest trench |
| Slopes >1V:2H | Rebar pins + deadman/crest trench | Engineer’s detail |
How do you fill and compact a driveway geocell?
Driveways fail when infill segregates or lifts are too thick. Controlled placement locks the cells and spreads load.
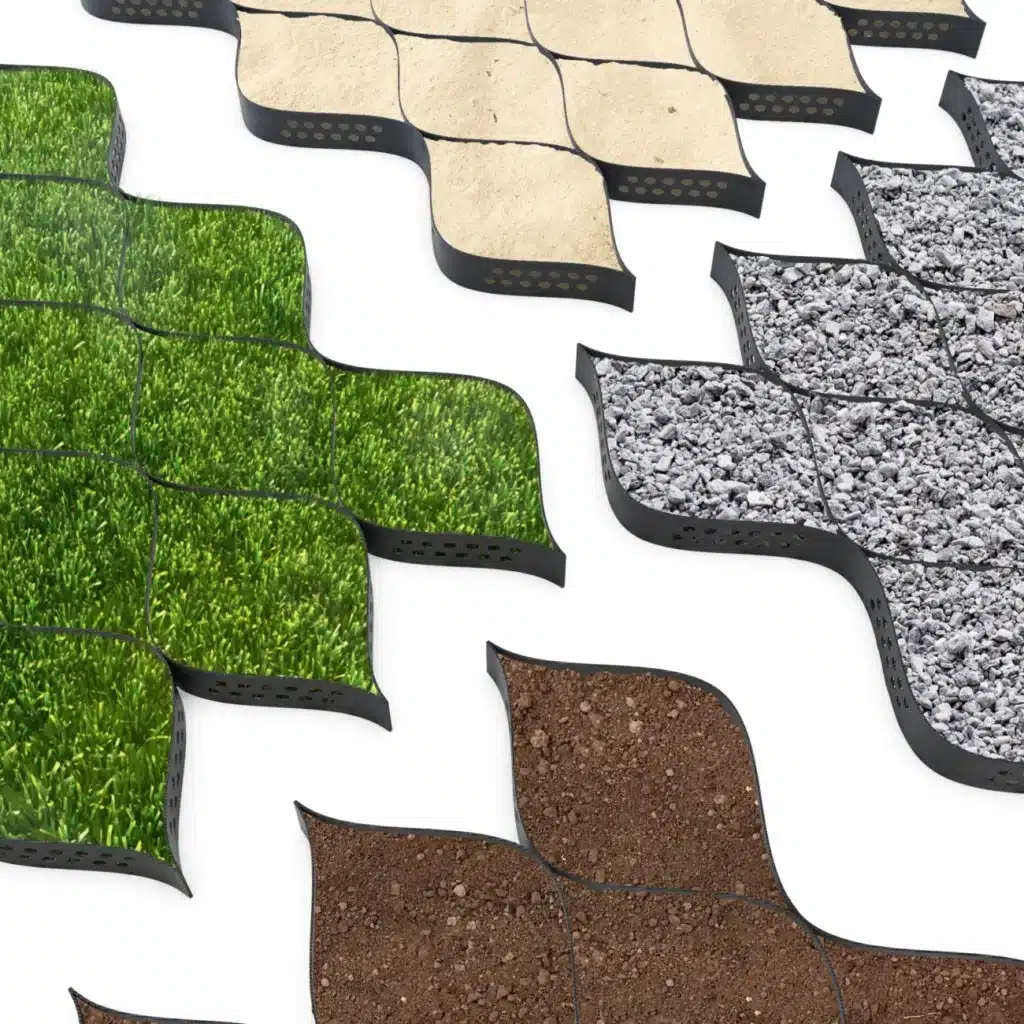
Use well-graded aggregate, place in thin lifts, compact progressively, and protect edges. A driveway geocell delivers a stiff, low-rut surface with less stone and faster installation.
| Infill choice | Typical use | Notes |
|---|---|---|
| Crushed stone 0–25 mm | General driveways, yards | Strong interlock, drains well |
| Gravel + fines (road base) | Low-dust surfaces | Compact in thin lifts |
| Sand + binder | Equestrian/paths | Needs edging and maintenance |
| Topsoil + seed | Green drives | Lower bearing; limit traffic while rooting |
How do you install a geocell grid for slope protection?
Unanchored cells slide; poorly chosen infill erodes. Anchoring and infill selection control stability and long-term appearance.
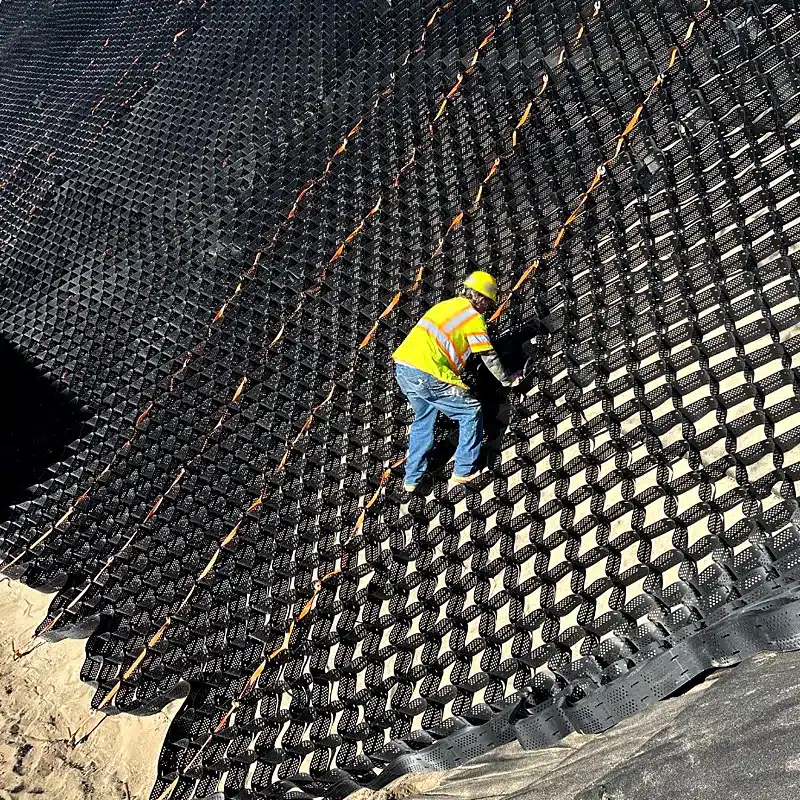
Pin the geocell grid at crest and toe, add intermediate rows, choose soil, rock, or concrete infill by slope and flow, and connect sections tightly to resist shear.
| Slope condition | Recommended infill | Extra measures |
|---|---|---|
| ≤1V:2.5H, landscaped | Topsoil + seed | Temporary mulch/blanket |
| ≤1V:2H, moderate flow | 10–20 mm rock | Closer pin spacing |
| Channels/high flow | 20–50 mm rock | Toe key + filter geotextile |
| Chutes/critical | Lean concrete | Expansion joints at panels |
Which polymer should you choose—HDPE geocell or PP geocell?
Wrong polymer raises creep and chemical risks. Matching polymer to load, temperature, and environment protects your warranty and budget.
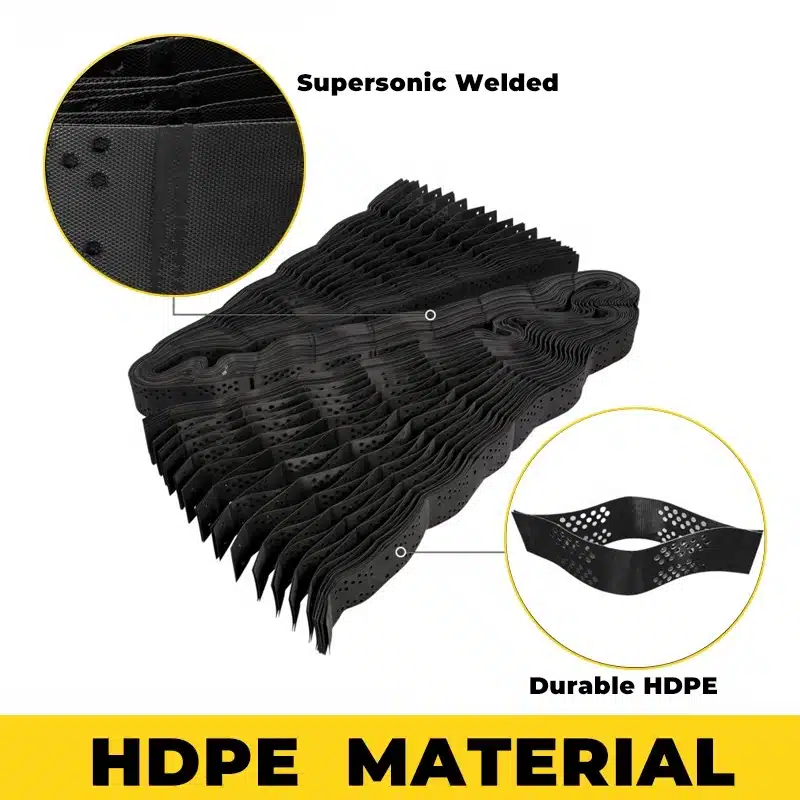
HDPE geocell suits most civil works for toughness and weld consistency. PP geocell offers higher stiffness and lower creep at service temperature in select designs. Choose by chemistry, not habit.
| Property | HDPE geocell | PP geocell |
|---|---|---|
| Ductility/impact | Higher | Moderate |
| Initial stiffness | Moderate | Higher |
| Creep at service temp | Good | Very good (design-dependent) |
| Chemical resistance | Broad (fuels, salts) | Good; check specific media |
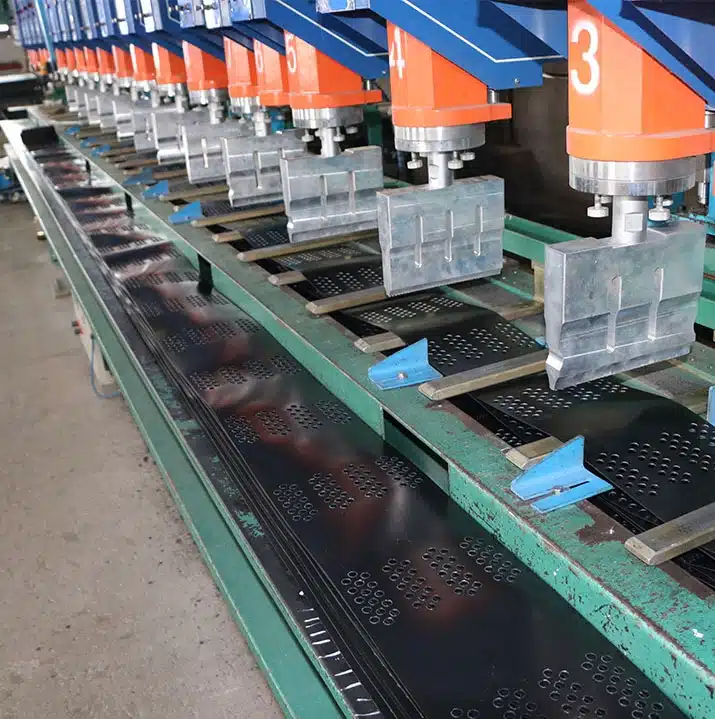
| Weld process window | Wide | Narrower; close QC |
Conclusion
Prepare the base, anchor well, fill in thin lifts, and compact. Match polymer and infill to the job. Your geocell ground grid will stay stable and pass inspection.