How to Install Geogrid for Retaining Walls
You build walls that must pass inspection and stay straight. You want clear steps, clean specs, and zero rework.
Geogrid installation is simple when you control the base, drainage, orientation, tension, and compaction. Build the facing true, lay geogrid perpendicular to the wall, tension and stake, backfill in thin lifts, and repeat. Use the right grid for retaining walls, verify spacing, and document every lift.
You will find the full sequence below with tools, spacing rules, a geogrid retaining wall design example, and special notes for a geogrid mesh retaining wall. Keep this page on site. Share the checklists with your crew.
What to Confirm Before You Start?
You prevent rework when you confirm design inputs early.
A geogrid retaining wall relies on the reinforced soil mass behind the facing. Confirm wall height, surcharge, soil class, geogrid strength, reinforcement length, and vertical spacing. Verify drainage and embedment. Stop if you do not have stamped drawings.
Core inputs that drive success
- Height and surcharge
Set wall height H. Identify traffic, structures, or stored materials above the wall. Surcharge changes reinforcement length and spacing. - Reinforcement length
Designers often use 0.7H–1.0H for the reinforced zone. Long lengths increase stability when soils are weak or loads are high. - Vertical spacing
Many segmental walls place geogrid every 2–3 courses (about 400–600 mm). Follow the drawing, not a habit. - Facing system and connectors
Blocks may use pins, lips, or bars. A geogrid mesh retaining wall uses welded-wire baskets or panels. Confirm connection strength for the exact grid model. - Backfill and compaction
Use well-graded granular backfill with low fines. Compact each 150–200 mm lift to spec (often ≥95% Standard Proctor). Use a plate compactor in the near-face zone. - Drainage and embedment
Install a perforated pipe behind the base course and daylight it. Provide embedment at the toe. Grade the surface to shed water away from the wall. - Material choice
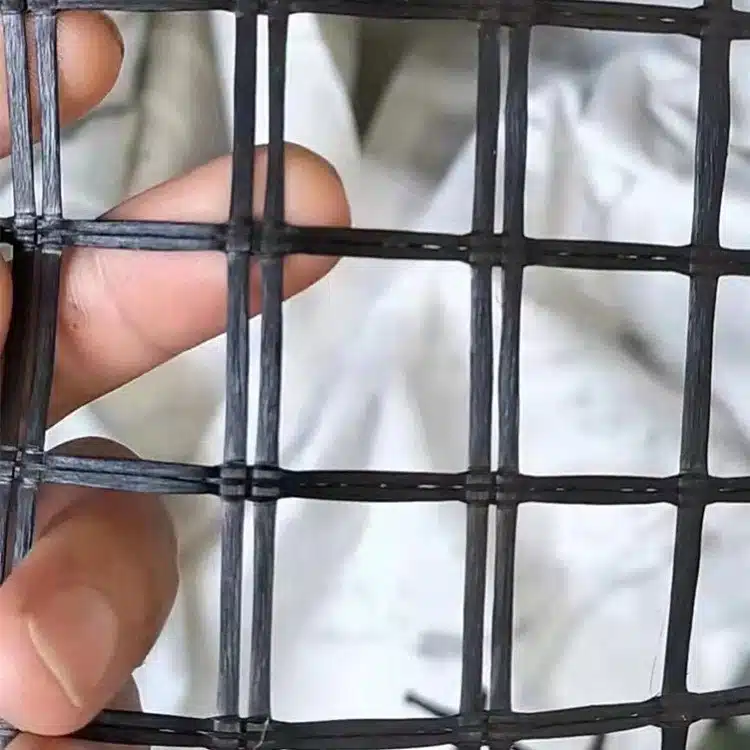
Polyester geogrid (PET) offers high modulus and controlled creep in many designs. Polypropylene (PP) or HDPE geogrids may be specified for chemical or installation reasons. Match the drawing.
| Design input | Typical guide (use stamped plans first) |
|---|---|
| Reinforcement length (Lr) | 0.7H–1.0H |
| Vertical spacing | Every 2–3 courses (≈400–600 mm) |
| Backfill lift thickness | 150–200 mm |
| Compaction target | ≥95% Standard Proctor |
| Drainage | Perforated pipe with positive outlet |
Tools and Materials Checklist
You keep production steady when the kit is complete.
Bring the correct geogrid strength class, the specified facing, drainage stone, and the right compaction tools. Add stakes for tensioning and simple QC tools.

Site kit that avoids delays
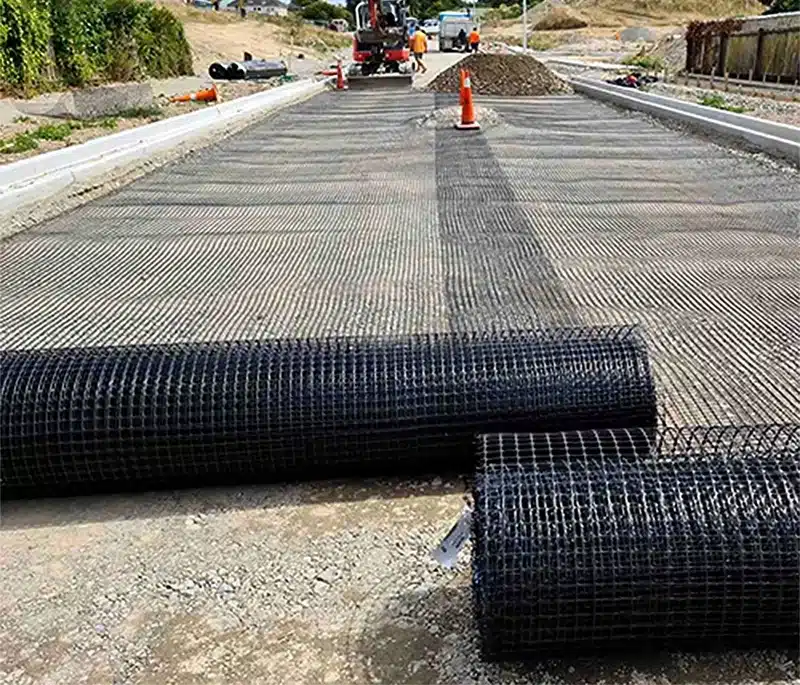
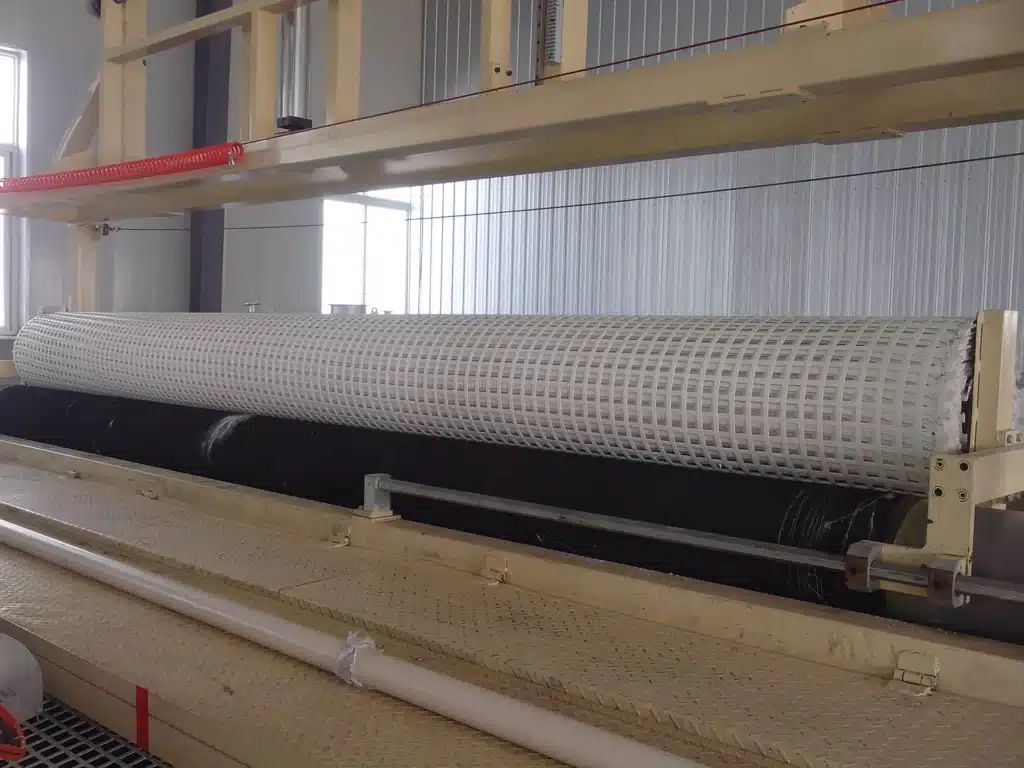
- Geogrid rolls per design (confirm strength, width, and roll labels)
- Facing system: segmental blocks or wire forms with pins/clips/bars
- Granular base, free-draining aggregate, perforated pipe, outlets
- Plate compactor, jumping jack for tight zones, rubber mallet, screed, level
- Rebar stakes or timber stakes and a string line for grid tension
- Utility knife/shears, chalk line, PPE
- Documentation folder: mill certs, lot labels, connection test data for your exact block–grid pair
| Item | Purpose | Crew tip |
|---|---|---|
| Rebar stakes / deadmen | Hold tension in grid | Stake the far edge every 1.2–1.8 m |
| Plate compactor | Density near the face | Two passes per lift, perpendicular to face |
| Jumping jack | Corners and tight pockets | Reduce bulges at steps and corners |
| Chalk line / string | Batter and line control | Snap every course change |
| Moisture meter (optional) | Backfill moisture check | Compact near optimum only |
Step-by-Step: Install a Geogrid Retaining Wall
You win the day when you repeat a clean sequence.
Set the base, place the first courses, add drainage, install the geogrid layer, then backfill and compact. Repeat at each specified elevation. Keep the grid perpendicular to the wall with its strong direction into the slope.
Dive deeper
The field sequence that crews remember
1) Excavate and prepare base
- Excavate to plan, including toe embedment. Proof-roll the subgrade. Undercut soft spots and replace with compacted granular.
- Build the leveling pad (crushed stone or lean concrete per plan). Check line, level, and batter. Small errors grow with height.
2) Place first courses and drainage
- Set the base course of blocks or wire forms dead level.
- Install the perforated pipe at the heel of the base course with free-draining aggregate and a positive outlet.
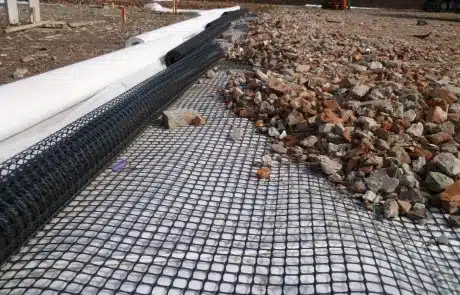
3) Install the first geogrid layer
- Clean the top of the facing. Roll geogrid perpendicular to the wall so the primary (strong) direction goes back into the slope.
- Seat the geogrid on the connector seat. Pin or lock per system detail.
- Pull the geogrid taut by hand. Stake the rear edge to hold tension. Avoid wrinkles.
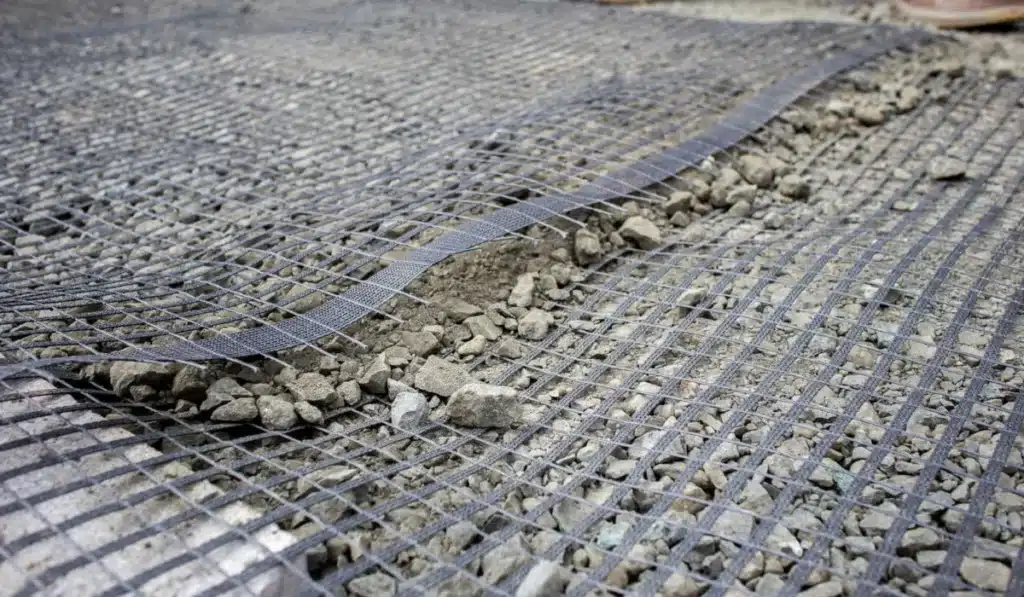
- Overlap side-by-side panels 150–300 mm across the roll width. Do not overlap in the primary strength direction unless the drawing says so.
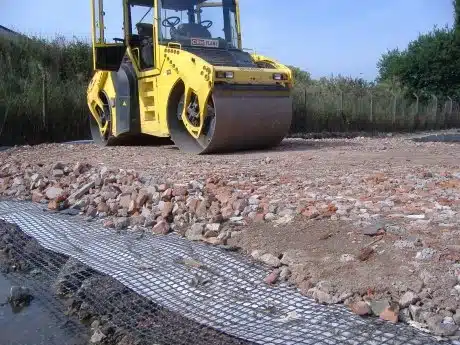
4) Backfill and compact
- Place backfill in 150–200 mm lifts. Keep free-draining aggregate within the near-face zone if specified.
- Compact each lift to spec. Use a plate compactor near the face; keep heavy rollers at least 0.9–1.2 m behind the face.
- Place from the back toward the face to avoid dragging geogrid.
5) Repeat at the next elevation
- Brush the surface clean, add the next course(s), check batter, then place the next geogrid layer.
- Stagger seams between layers where possible. Maintain continuous vertical drainage.
6) Finish grading and surface water control
- Cap the wall per system detail. Grade the surface to direct water away from the wall. Add swales where needed.
Geogrid Mesh Retaining Wall: Wire-Form Specifics
You follow the same physics, but the connections change.
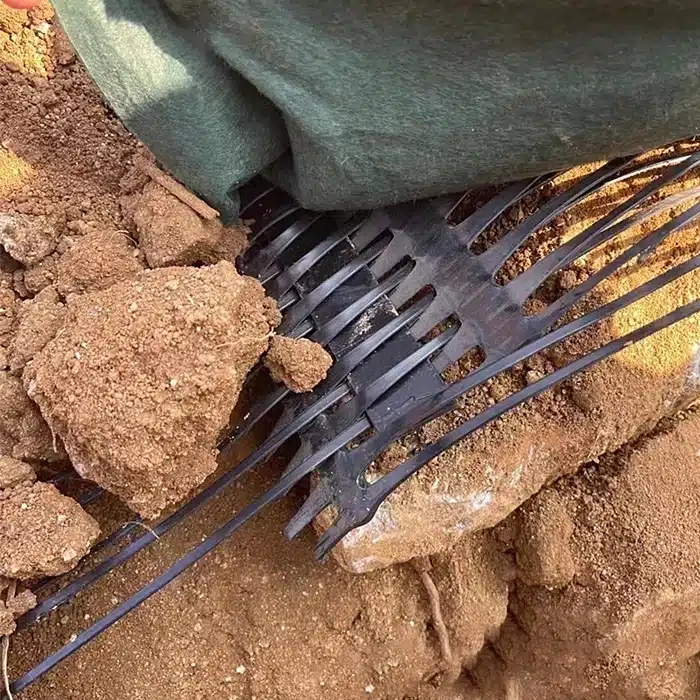
A geogrid mesh retaining wall pairs welded-wire baskets or panels with geogrid layers. The geogrid wraps through or locks behind cross bars to tie the face to the reinforced mass.
Dive deeper
Details that keep wire-form faces true
- Assemble wire forms level. Brace temporarily. Install front-to-rear ties per the system.
- Wrap geogrid through the form and back into the soil, or lock behind cross bars following the manufacturer detail.
- Maintain face geometry during compaction by alternating short passes and checking line every lift.
- Use granular backfill that interlocks well with the grid apertures.
- Protect galvanizing or coatings from damage. Touch up where needed.
Geogrid Retaining Wall Design Example (Conceptual)
You show the client how inputs drive spacing and length.
This simple geogrid retaining wall design example illustrates typical parameters. Use it as a conversation guide only. Always build from stamped plans.
Dive deeper
Example assumptions and resulting layout
- Wall height H = 2.4 m
- Level backfill, light vehicle surcharge near crest
- Granular backfill, good drainage, frost depth considered
- Geogrid: PET polyester geogrid with tested connection values for the chosen block
| Parameter | Example value (guide only) |
|---|---|
| Reinforcement length Lr | 0.8H = 1.9 m |
| Vertical spacing | Every 2 courses ≈ 0.4–0.45 m |
| Number of layers | 5–6, depending on course height |
| Near-face compaction | Plate compactor only |
| Drainage | Perforated pipe to daylight; continuous drain stone column |
You can swap polyester geogrid for another specified grid if the connection tests and long-term design strength match the calculation set. Document the substitution and get approval before ordering.
Choosing Materials: Polyester Geogrid vs Other Options
You select the grid that matches design demands.
A polyester geogrid (PET) often delivers high modulus and controlled creep. PP or HDPE grids may be specified for chemical exposure or certain connection geometries. Match aperture size to aggregate to improve interlock and reduce deformation.
Dive deeper
Practical comparison for grid for retaining walls
| Consideration | Polyester geogrid (PET) | PP/HDPE grids |
|---|---|---|
| Modulus / creep | High modulus, low creep (good for sustained loads) | Varies; confirm long-term reduction factors |
| Chemical exposure | Good in many soils; check pH/chlorides | Often preferred in certain chemical environments |
| Connection with blocks | Strong with many systems (verify test data) | Strong; verify for your exact block model |
| Handling | Robust under tensioning | Lightweight; mind heat and cuts |
| Cost / availability | Project-dependent | Project-dependent |
Quality Control, Common Errors, and Fast Fixes
You reduce callbacks when you spot these early.
Keep a simple QC log: course number, grid layer, lift density, line/batter check, and rain events. Small checks avoid big movements.
Field issues you can prevent today
| Symptom | Likely cause | Fix |
|---|---|---|
| Face bulge | Under-compaction near face or slack geogrid | Re-compact; improve tensioning on next lift |
| Wrinkles in geogrid | Dragging soil across grid or poor staking | Place from back toward face; stake trailing edge |
| Soft pockets | Wet or fine-rich fill; thick lifts | Replace or dry; reduce lift thickness |
| Water at base | Poor outlet or clogged drain | Clear outlet; add weeps; protect drain stone with geotextile sock |
| Weak connection | Wrong grid model for block | Use tested block–grid combo only |
FAQs You Can Share With Clients
Short, steady answers
- Is a geogrid retaining wall mandatory above a certain height?
Your local code and the engineer’s design decide this. Most structural walls use geogrid above modest heights or under surcharge. - Can you use “any grid for retaining walls”?
No. Use the specified make, model, and strength. Connection capacity must match your facing system. - Where does a geogrid mesh retaining wall help most?
It helps on temporary or permanent applications that favor open wire faces or vegetation. It still needs proper drainage and compaction. - Can you switch to polyester geogrid late?
Only with engineer approval and matching design strengths and connection tests.
Conclusion
You get faster builds and straighter walls when you follow the sequence, use the specified geogrid, and document every lift. Control water, tension the grid, and compact well. The result is a stable, compliant wall that lasts.