How to Lay Geotextile Fabric?
You want a base that stays tight, drains well, and keeps fines where they belong. This guide shows how to lay geotextile fabric correctly—step by step—for non woven and woven systems. Use it for driveways, roads, pads, slopes, and landscaping where separation, filtration, or weed control matters.
How to Lay Non Woven Geotextile Fabric?
When to use: Under gravel roads/driveways, over soft subgrades, behind retaining walls, around drains. Non woven geotextile fabric lets water through while holding soil back—ideal for filtration + separation.
Tools & materials
- Non woven geotextile fabric (spec per load/soil)
- Spray paint or chalk line, measuring tape, utility knife
- U-pins or rebar staples (6–12 in / 150–300 mm)
- Subgrade compaction tools (plate/roller), rake, broom
- Overlap tape (optional), edge restraints (curb, timber, metal)
Installation steps
- Grade & proof-roll the subgrade. Remove organics and high spots. Fill low spots. Compact to a firm, uniform surface.
- Plan panel layout. Roll direction parallel to traffic when possible. Minimize seams across the wheel path.
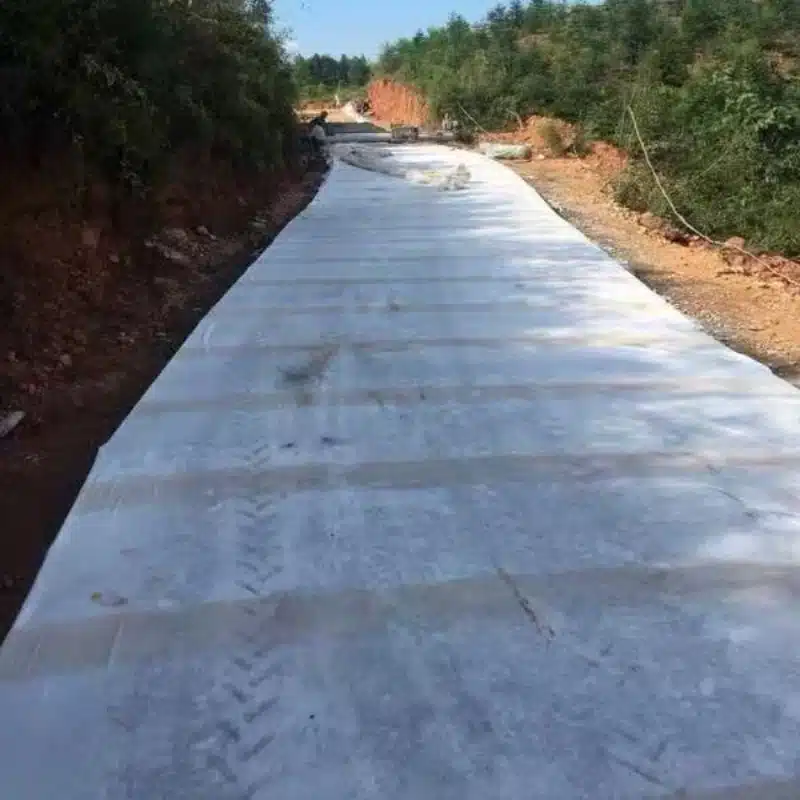
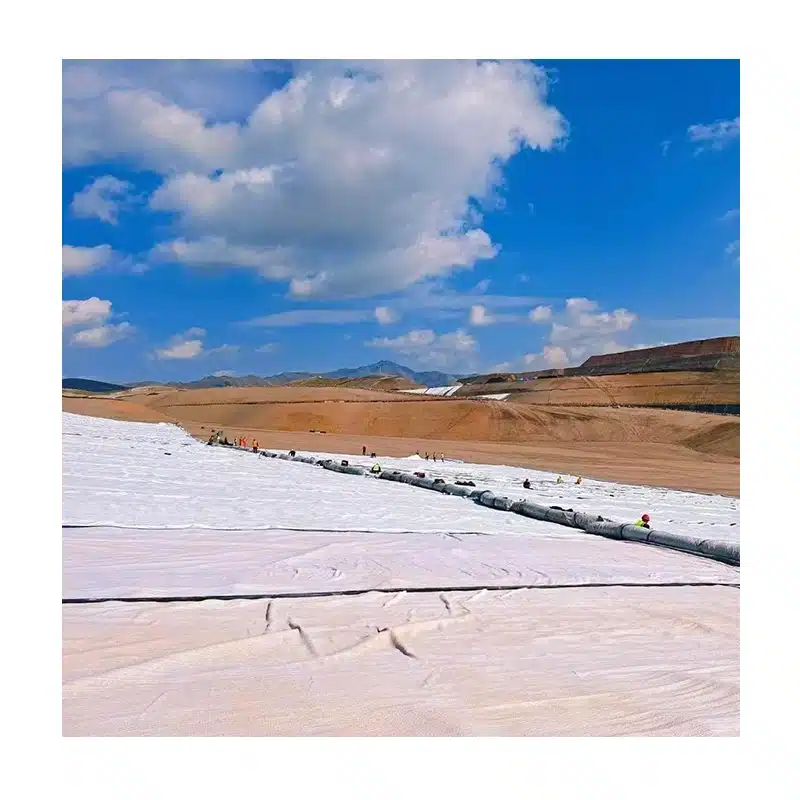
- Place the fabric flat. Unroll with the smooth side up (if applicable). Eliminate wrinkles; do not stretch tight.
- Shingle the overlaps. On level ground, overlap 12–18 in (300–450 mm). On slopes, increase to 18–24 in (450–600 mm), oriented shingle-fashion downslope.
- Pin the perimeter and field. Edge pins at 3–5 ft (1–1.5 m) centers; field pins at 5–8 ft (1.5–2.5 m) on firm soils. Tighten to 2–3 ft (0.6–0.9 m) on weak/peaty areas.
- Seal critical seams. In high-fines or high-velocity water zones, tape seams or add a secondary strip overlap.
- Place cover in thin lifts. First lift 4–6 in (100–150 mm) of angular aggregate or engineered fill. Do not drive directly on exposed fabric.
- Compact each lift. Walk the compactor on; avoid sudden turns. Continue with additional lifts until design thickness is reached.
- Finish & protect edges. Install edging/curb to lock the system and prevent fabric exposure.
- QA checks. No exposed fabric, no trapped folds, no contaminated cover. Verify drainage flows as designed.
Pro tips
- Choose apparent opening size (AOS) and permittivity to match soil gradation.
- If pumping is expected, increase fabric mass and first-lift thickness.
- Keep UV exposure under 24–48 hours before cover.
How to Lay Woven Geotextile Fabricto Stop Weeds? (and Stabilize Bases)
When to use: Under gravel driveways, paths, and paver bases where high puncture strength and separation are priorities. Woven geotextile fabric limits light and resists intrusion—reducing weeds when properly covered and sealed at edges.
Under gravel (paths, parking, driveways)
- Excavate & grade. Target design depth; ensure crossfall for drainage.
- Smooth & compact subgrade. A flat, dense base prevents wrinkles.
- Roll out woven geotextile. Keep it relaxed, not tensioned.
- Overlap & pin. Overlap 12–18 in (more on curves). Pin perimeter at 3–5 ft centers; field at 5–8 ft.
- Seal edges. Use edging (timber/steel/concrete) to block light at margins—the number-one weed entry point.
- Place cover immediately. Minimum 2–3 in (50–75 mm) for paths; 4–6 in (100–150 mm) for light vehicles; 8–12 in (200–300 mm) for heavy vehicles.
- Compact in lifts. Add and compact until design thickness is met.
Under pavers (patios, walks, hardstands)
- Subgrade prep & compaction.
- Woven geotextile placement with 12–18 in overlaps, pinned.
- Base course (crushed stone) in 2–4 in lifts, compacted.
- Bedding layer (≈1 in screened sand).
- Pavers + edge restraint. Sweep in polymeric sand; compact and top-up joints.
Weed-control essentials
- Light exclusion at edges and seams matters more than fabric “rating.”
- Most weeds germinate from above; maintain the top layer and jointing sand.
- Don’t leave fabric exposed—cover the same day.
Common Mistakes to Avoid (Both Systems)
- Insufficient overlaps or wrong shingle direction on slopes.
- Driving on exposed fabric—creates tears and pulls.
- Under-compaction of the first lift—causes rutting and fabric strain.
- Wrong fabric type: woven where filtration is critical; non woven where high puncture strength is mandatory.
- Edge light leaks—number-one source of “mystery weeds.”
Quick Selector: Non Woven vs Woven
| Application | Preferred Fabric | Why |
|---|---|---|
| Soft subgrade over weak soils | Non woven geotextile fabric | Filtration + separation, conforms to irregularities |
| French drains / underdrains | Non woven | High permittivity, resists clogging when correctly specified |
| Paver & gravel bases | Woven geotextile fabric | High tensile & puncture strength, clean separation |
| Weed reduction under gravel/pavers | Woven (well covered & edged) | Light block + strength; edge sealing prevents intrusion |
Conclusion
Lay geotextile fabric like a pro by matching fabric type to function, controlling overlaps, pin spacing, and cover thickness, then compacting in calibrated lifts. Use non woven geotextile fabric when filtration and soil separation drive performance. Use woven geotextile fabric when you need maximum puncture resistance and clean separation under gravel and pavers—paired with proper cover and edge restraint to stop weeds. This is the fastest, most cost-effective way to lock in bearing capacity, protect drainage, and cut lifetime maintenance.
MJY Geosynthetics Manufacturer has been dedicated to producing high-quality geosynthetic materials for 15 years and is a recognized leader in the industry. If you are interested in finding a reliable one-stop geosynthetics supplier for your project or business, please visit our website for more information。
Need help selecting the right geotextile spec, roll width, and overlaps for your soil and load case? You’ll get engineer-grade recommendations, submittal data, and delivery schedules that keep your site on program.