Struggling with soft subgrades, rutting, or slope washouts? Use a proven geocell method to stabilize bases and embankments fast—without overspending on excavation or imported aggregate.
Install HDPE geocells over geotextile, anchor correctly, fill in compacted lifts, and size the system to soil strength and slope. This guide covers tools, steps, design tweaks, troubleshooting, maintenance, and why MJY’s custom panels keep projects on schedule and within budget.
Below is a field-tested playbook your crew can follow today—from selecting the right panel to the last compaction pass—so your driveway, access road, or slope protection performs from day one.
Where do geocells work best?
Use geocells wherever you need stiffness, confinement, and drainage without deep excavation or costly concrete.
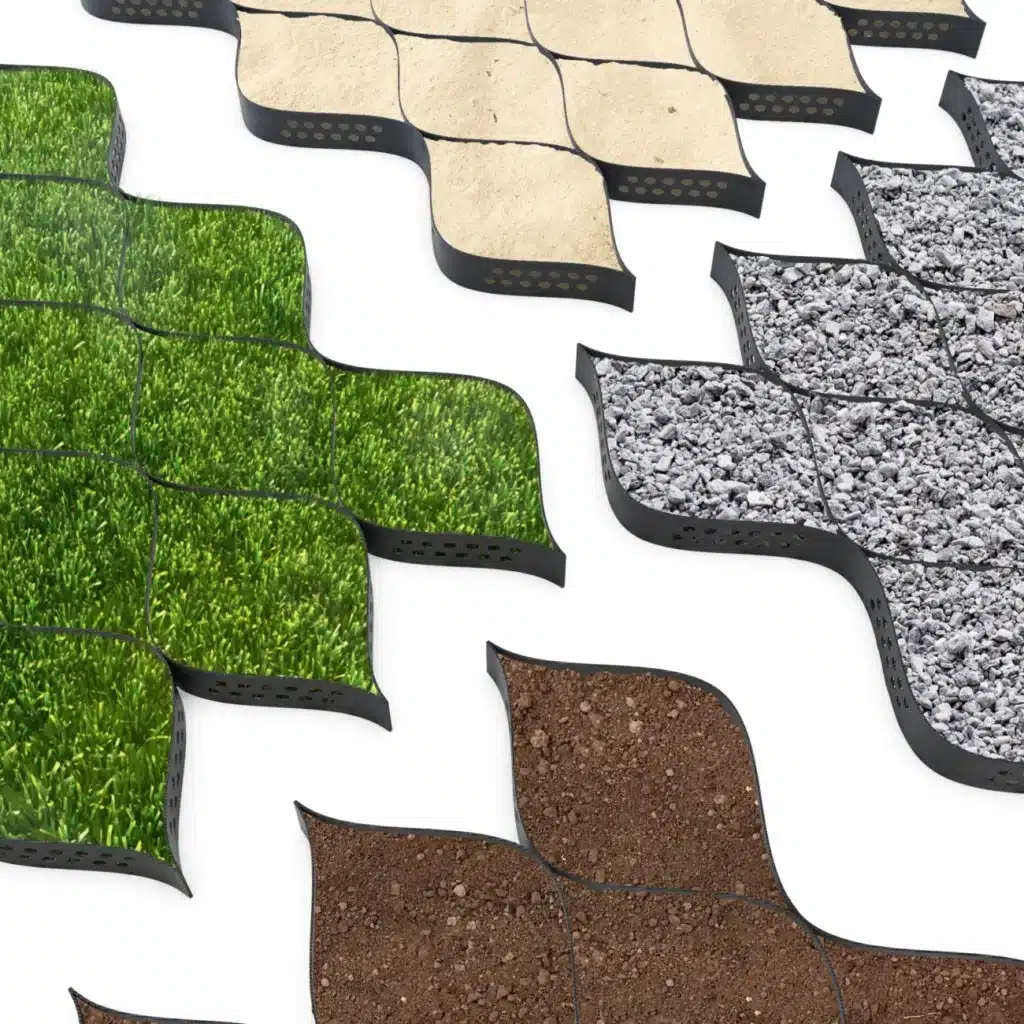
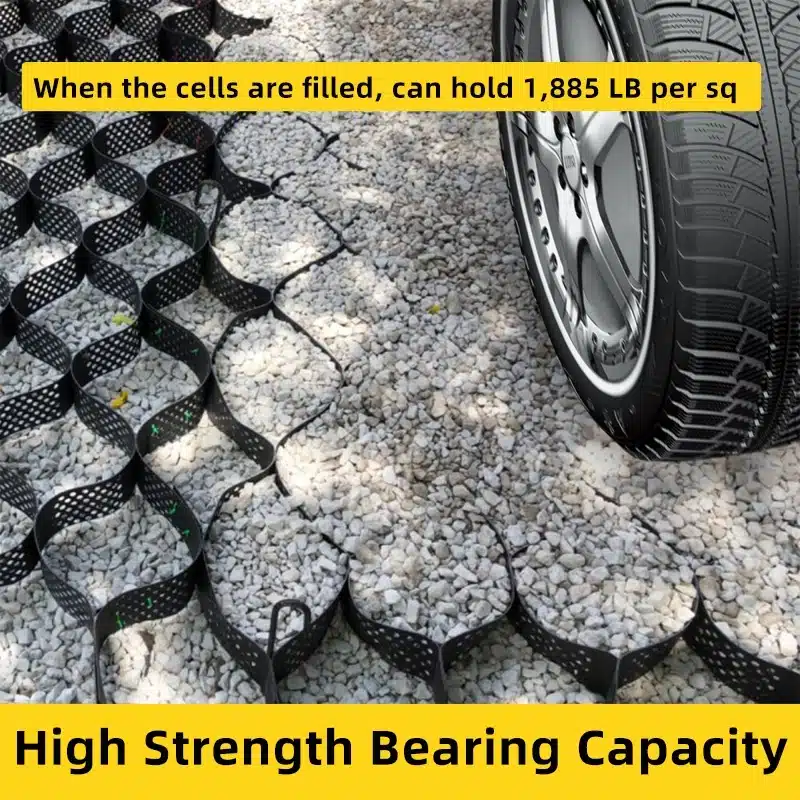
Geocells excel in load support (driveways, yards, haul roads), slope protection (vegetated or hard-armor), and channels/retaining structures where confinement and drainage prevent movement and erosion.

Key use cases
- Load support: Residential/commercial driveways, parking bays, maintenance roads, equipment pads, RV/boat storage, logistic yards. Geocells spread wheel loads, reduce ruts, and allow shallower base courses.
- Slopes/embankments: Road cuts, landfill cover slopes, stormwater berms, rail embankments. Cells confine soil or aggregate, reducing downslope movement and surface erosion.
- Channels/ditches: Energy dissipation and lining where flows would otherwise scour native soils.
- Green infrastructure: Vegetated systems where root interlock + cell confinement deliver stability and visual integration.
Selection criteria that matter
- Traffic & loads: Axle weights, trafficking frequency, turning areas.
- Soil strength: CBR or plate bearing informs base thickness and whether a separation layer is mandatory.
- Hydrology: Infiltration goals, seasonal groundwater, freeze–thaw cycles, peak runoff.
- Constructability: Access, crew skills, compaction equipment, weather window.
Quick mapping of application to panel choice
| Application | Cell Height | Cell Size | Infill | Notes |
|---|---|---|---|---|
| Driveways / access roads | 75–100 mm | Medium | Crushed aggregate | Geotextile separation on soft subgrades. |
| Heavy pads / turning | 100–150 mm | Medium–Large | Angular aggregate | Heavier anchors at edges. |
| Vegetated slopes ≤ 2H:1V | 100–150 mm | Medium | Topsoil + seed | Biodegradable netting optional. |
| Steeper slopes / berms | 150–200 mm | Medium–Large | Soil + fiber/seed mix | Denser anchoring; check runoff velocities. |
| Channels / high flow | 100–200 mm | Medium | Aggregate / concrete | Consider perforated cells for drainage. |
What tools and materials do you need for geocell installation?
Arrive with the right kit and the work flows: fewer stoppages, tighter schedules, better compaction.
Core kit: geotextile, HDPE geocells, pins/anchors, aggregate/topsoil, and compaction equipment. Add layout tools, cutting tools, and safety PPE to keep the crew efficient and compliant.
Tools checklist
- Layout: tapes, stringlines, marking paint, levels.
- Earthworks: shovels, rakes, skid-steer or mini-excavator (as needed).
- Compaction: plate compactor or small roller (vibration preferred for aggregates).
- Cutting & fastening: utility knives, shears, zip ties/staples for temporary joining.
- Anchoring: sledge/rubber mallet, hammer drill (for hard subgrades), steel/FRP stakes.
- Safety: gloves, eye/ear protection, dust masks when cutting or during dry placement.
Materials checklist
- Geotextile separation layer (nonwoven for separation/drainage; woven for higher tensile separation).
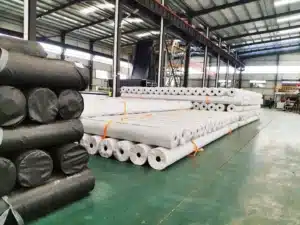
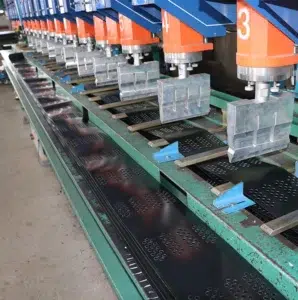
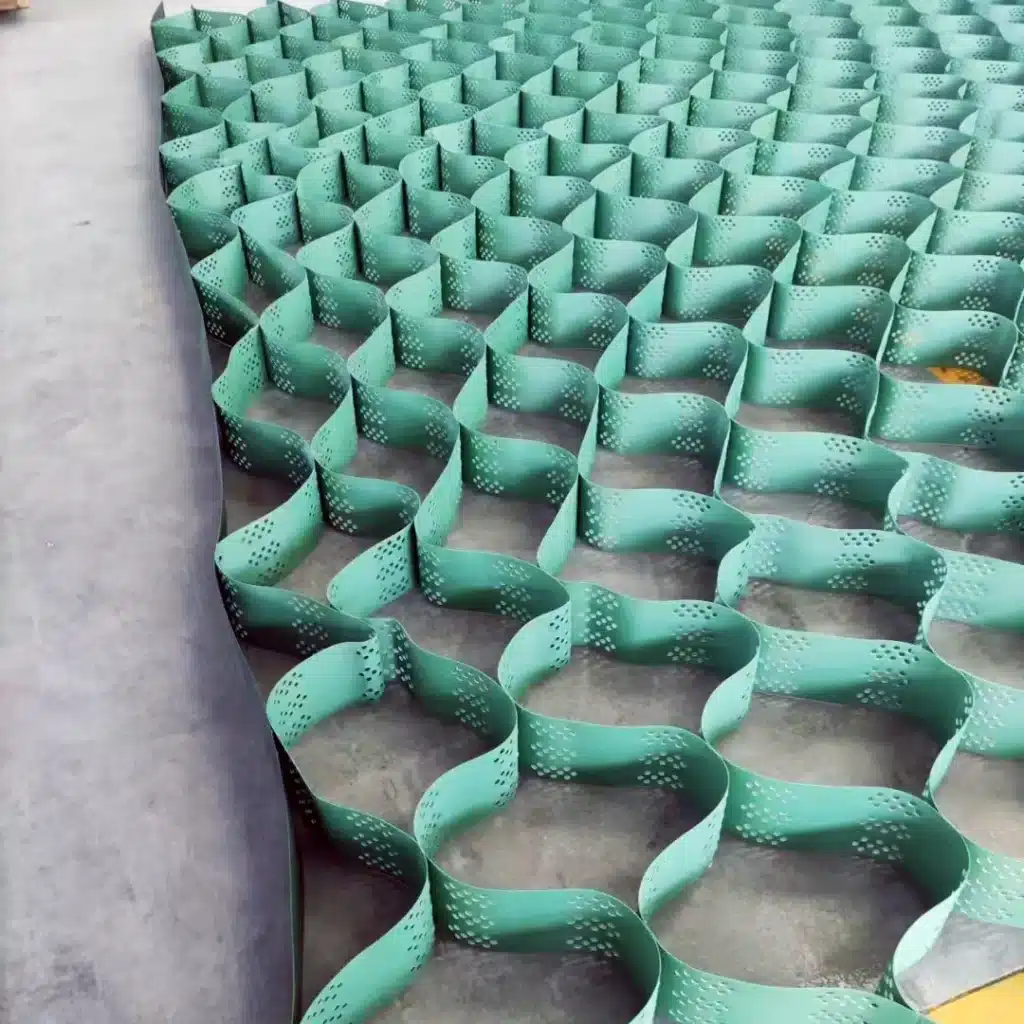
- HDPE geocell panels (height, cell size, perforation/texturing to suit).
- Infill (well-graded crushed rock for traffic; clean topsoil/engineered soil for vegetation).
- Anchors (steel J-pins, earth nails, rebar, duckbill anchors on steep slopes).
- Edging/containment (curbs, treated timber, concrete haunching where specified).
Sourcing guidance (MJY)
- Specify cell height, cell size, sheet dimensions, perforation; request shop drawings.
- For soft sites, include geotextile + anchor kit in the same shipment.
- Ask MJY for pre-cut sheets to match bay sizes and reduce on-site cutting waste.
| Item | Typical Spec | Purpose |
|---|---|---|
| Nonwoven geotextile | 150–300 g/m² | Separation + filtration |
| HDPE geocell | 75–200 mm height, medium cell | Confinement |
| Anchors (steel pins) | 8–12 mm dia., 300–600 mm length | Fixation at edges/grids |
| Aggregate (traffic) | 20–40 mm well-graded crushed stone | Load bearing + drainage |
| Topsoil (vegetation) | Low fines, organic 3–5% by weight | Growth + stability |
How do you install geocells step by step?
Follow a repeatable sequence: prepare, separate, deploy, anchor, infill, compact, and finish.
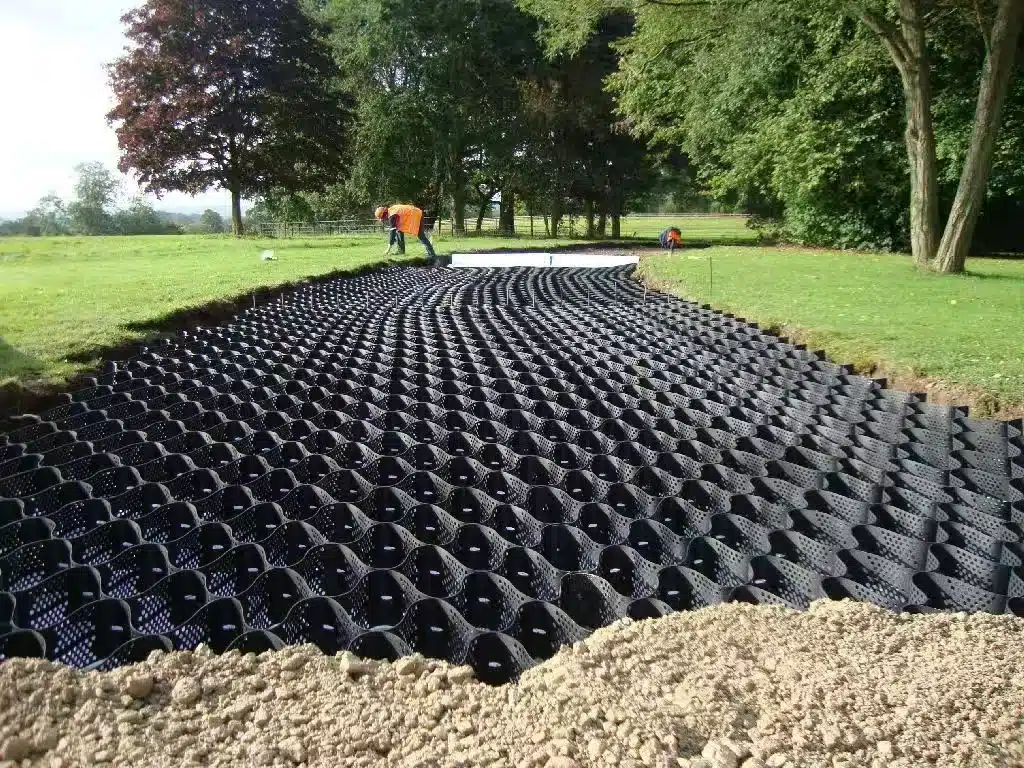
Grade and compact subgrade, place geotextile, expand/align cells, anchor edges, fill in 100–150 mm lifts with compaction, and finish to elevation. Tie into drainage and edge restraints.
Step-by-step sequence
- Survey & layout: Mark extents, thicknesses, and tie-ins. Confirm drainage falls (1–3% typical for yards/driveways).
- Subgrade prep: Excavate unsuitable materials; proof-roll. Moisture-condition and compact subgrade to spec.
- Separation layer: Place geotextile flat and wrinkle-free with 300–450 mm overlaps; extend under edges.
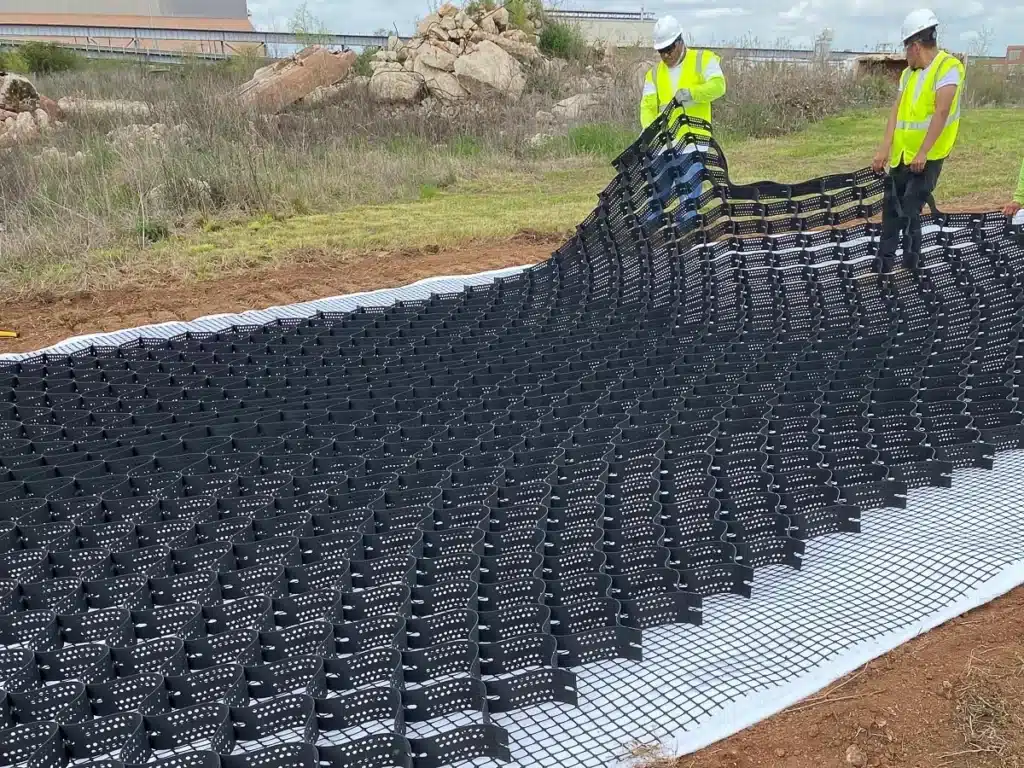
- Panel deployment: Expand MJY geocell sheets; align cells; temporarily pin corners/edges.
- Anchoring: Install pins 1.0–1.5 m centers (tighter on slopes and turns). Increase density at transitions and terminations.
- Infill placement: Deposit infill from the low edge upward; avoid driving on unfilled cells. Use tracked equipment if unavoidable.
- Compaction in lifts: Compact each lift (≈100–150 mm) to target density; check with spot tests/IRM method.
- Top course / finish: Add wearing course or topsoil; re-compact; verify levels and crossfall.
- Edge restraint & tie-ins: Secure to curbs, headers, or key into embankments; seal interfaces to prevent washout.
- Quality checks: Verify thicknesses, anchor spacing, density, and surface tolerance before opening to traffic.
| Parameter | Typical Range | Notes |
|---|---|---|
| Crossfall / crown | 1–3% | Surface drainage for traffic areas |
| Anchor spacing (flat) | 1.0–1.5 m | Closer at edges and transitions |
| Anchor spacing (slopes) | 0.5–1.0 m | Add crest/toe rows and intermediate ladders |
| Lift thickness (traffic) | 100–150 mm | Match equipment compaction capability |
| Compaction target | As per spec (e.g., 95% MDD) | Confirm per project standard |
What mistakes should you avoid—and how do you troubleshoot?
Most failures trace back to subgrade, drainage, or compaction. Fix those and performance follows.
Avoid under-compacted subgrades, missing geotextile, poor infill, thin lifts, and weak edge restraint. Diagnose early with proof-rolling and moisture checks; correct with re-work before trafficking.
Frequent pitfalls
- Skipping separation: Fines pump into base, causing settlement and rutting.
- Thin, un-compacted lifts: Leads to density gradients and post-construction settlement.
- Poor drainage: Standing water softens soils, overloads cells, and migrates fines.
- Sparse anchoring: Panels creep on slopes and at tight turns.
- Driving on empty cells: Deforms walls; reduces confinement efficiency.
Troubleshooting playbook
- Rutting after rain: Check drainage outlets; scarify surface; add material; re-compact. Consider underdrains if groundwater is persistent.
- Panel creep on slope: Add anchors; install crest/toe beams; increase surface roughness/top cover.
- Localized settlement: Excavate spot, replace with well-graded aggregate, compact, reinstate surface.
- Vegetation loss on slopes: Topdress, re-seed, add coir blankets or turf reinforcement where flows are higher.
| Mistake | Symptom | Corrective Action |
|---|---|---|
| No geotextile | Pumping / fines migration | Retrofit via edge trenches or sectional rebuild |
| Under-compaction | Hollow sound / deflection | Rework lifts; moisture-condition; re-compact |
| Sparse anchors | Panel slip / wrinkling | Add anchors; closer spacing; secure terminations |
| Poor infill grading | Ravelling / settlement | Replace with well-graded angular aggregate |
How do you adapt design to soils, slopes, and climate?
Let soil strength and hydraulics drive your choices—cell height, anchor density, and base thickness.
On low-CBR soils, add separation and thicker confined aggregate; on steeper slopes, increase cell height and anchoring. In wet/freezing climates, prioritize drainage, perforated cells, and non-frost-susceptible infill.
Soil-driven choices
- CBR ≤ 2 (very soft): Heavier geotextile, thicker confined base, 100–150 mm cells, tighter anchor grid. Consider preload or lime/cement treatment where feasible.
- CBR 3–5 (soft–medium): Standard separation, 75–100 mm cells for light traffic; 100–150 mm for heavy/turning.
- CBR ≥ 6 (firm): Focus on drainage and wear layer; cells primarily prevent lateral movement and reduce thickness.
Slope-driven choices
- ≤ 3H:1V: Vegetated systems perform well with 100–150 mm cells; seed + mulch.
- 2H:1V to 1.5H:1V: Increase cell height and anchor density; consider turf reinforcement or rock infill in flow paths.
- Steeper / critical: Engineer review; consider step-terracing, intermediate berms, or hard armor.
Climate & hydraulics
- High rainfall: Perforated/textured cells, underdrains, and reliable outlet control.
- Freeze–thaw: Non-frost-susceptible aggregates, positive drainage, protective surface course.
- Arid/dusty: Control fines; stabilize surface with light binder if required.
| Condition | Design Lever | Typical Adjustment |
|---|---|---|
| CBR ≤ 2 | Base thickness | +50–100 mm confined aggregate |
| Slope gets steeper | Anchors & cell height | +25–50% anchor density; +25–50 mm cell height |
| High runoff | Hydraulics | Add underdrain; perforated cells; armored outlets |
| Freeze–thaw | Materials | Use non-frost-susceptible aggregate |
How do you maintain geocell systems for long life?
A short seasonal checklist prevents small issues from becoming rebuilds.
Inspect after the first major storm and each season: clear drains, top up infill, repair edges, and re-seed bare spots. Traffic areas may need periodic re-grading of the wearing course.
Seasonal O&M plan
- Spring: Drainage check, edge integrity, frost heave assessment; top up aggregate where needed.
- Summer: Vegetation audits on slopes; irrigation and fertilization as per spec; weed control.
- Autumn: Clear leaves/debris; confirm outlets before wet season.
- Winter prep: Ensure positive drainage; restrict heavy traffic during thaws.
Trigger-based actions
- >10 mm rutting: Re-grade, add material, re-compact local area.
- Bare vegetated patches: Topdress, seed, install short-term erosion blankets.
- Edge damage (plows/tires): Reinstate edge restraint; consider curb/haunch upgrades.
| Task | Frequency | Acceptance Criteria |
|---|---|---|
| Drainage outlet clearing | Quarterly / post-storm | Free flow, no ponding |
| Wearing course top-up | As needed | Meets grade; no loose ravel |
| Vegetation cover | Twice yearly | ≥ 90% cover on designed vegetated areas |
| Anchor/edge inspection | Twice yearly | No uplift, movement, or loss |
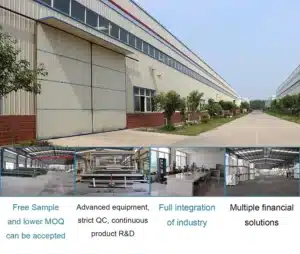
Why choose MJY Geosynthetics for your project?
Reduce risk with a manufacturer that engineers the panel to your site—not the other way around.
MJY supplies custom-cut HDPE geocells, matched geotextiles, anchor kits, and shop drawings—backed by responsive technical support and fast global shipping. One supplier, one schedule, fewer variables on site.
What you get with MJY
- Custom geometry: Cell height (75–200 mm), cell size, perforation, texturing, and sheet dimensions tailored to your bay layout.
- System packaging: Geotextile, anchors, and edge details shipped together to avoid site delays.
- Technical submittals: Shop drawings, installation guide, and QC certificates aligned with your spec.
- Global logistics: Consolidated pallets, export documentation, and delivery coordination to jobsite.
Comparison snapshot
| Criteria | MJY Geocells | Commodity Panels |
|---|---|---|
| Custom sizing | Yes (factory pre-cut/optimized) | Limited / on-site cutting required |
| Matched accessories | Anchors + geotextile kits available | Sourced separately |
| Tech support | Drawings + install support | Minimal |
| Lead time | Planned production + fast shipping | Variable |
| Total installed cost | Lower via fewer delays/rework | Higher from coordination gaps |
My Opinion
- Treat CBR + drainage as the two levers that decide 80% of success. Size cell height and base thickness to those, not to rules of thumb.
- On traffic areas, prioritize well-graded angular aggregate and vibratory compaction in thin lifts; this locks confinement and resists shear.
- On slopes, anchor density and terminations (crest/toe) matter more than you think—over-spec them; you will not regret it.
- Keep geotextile continuous with generous overlaps; wrinkles create soft spots.
- Ask for pre-cut sheets from MJY to reduce waste and speed installation.
FAQ
Q1: Do geocells reduce the required base thickness?
Yes, confinement allows shallower sections versus unconfined aggregate. Final thickness still depends on CBR, traffic, and performance criteria.
Q2: Perforated or non-perforated cells?
Perforated cells improve lateral drainage and soil–cell interlock; use non-perforated for very fine soils where filtration relies solely on the geotextile.
Q3: Can geocells go under asphalt or pavers?
Yes. Use geocells to confine the base, then place the asphalt or bedding/pavers above the finished base as per paving specs.
Q4: What anchor spacing should be used on slopes?
Typically 0.5–1.0 m in a staggered pattern, tighter at crest/toe and along edges. Confirm per slope angle and soil.
Q5: What if groundwater is high?
Include underdrains or outfalls, use perforated cells, and ensure positive surface drainage. Avoid trapping water atop low-permeability layers.
Q6: What compaction target is right?
Follow the project spec (e.g., ≥95% MDD for traffic bases). Compact in 100–150 mm lifts to reach uniform density.
Q7: Can vegetation establish in geocells on steep slopes?
Yes, provided there’s adequate topsoil, moisture, and temporary erosion protection (mulch/blankets) during establishment.
Q8: How long will a geocell driveway last?
With proper design, materials, and maintenance, service life is measured in decades. Periodic top-ups of the wearing course may be required.
Q9: Are geocells compatible with snow plowing?
Yes. Ensure a durable wearing course above the cells and use plow shoes to avoid gouging the surface.
Q10: Can MJY supply a full kit?
Yes—geocells, matched geotextile, anchors, and drawings in one shipment to streamline procurement and installation.
Conclusion
Build to soil and water, not guesswork: separate, confine, drain, compact—and partner with MJY to deliver predictable, durable stabilization.
MJY Geosynthetics Manufacturer has been dedicated to producing high-quality geosynthetic materials for 15 years and is a recognized leader in the industry. If you are interested in finding a reliable one-stop geosynthetics supplier for your project or business, please visit our website for more information: