How to Install Geogrid on a Slope
Struggling with sliding soil, ruts, and washouts on grades? You want a simple process that crews can follow and inspectors accept the first time.
In short: grade and compact the subgrade, place separation where needed, tension and pin the geogrid perpendicular to the fall line, backfill in thin lifts, compact to spec, and lock the edges. Choose polyester geogrid for creep control on long, loaded slopes; use gravel geogrid with the right aggregate for interlock.
You will get a repeatable field sequence, clear material choices, and tips to avoid rework. Keep this page open during toolbox talks.
What to Check Before U Start?
You want zero surprises on grade. Small misses in planning turn into big problems once the slope is open.
A fast pre-check saves time: confirm slope angle, surcharge, soil type, drainage path, and edge restraint. Pick the right geogrid, pin length, and backfill before machines move.
Dive deeper
Slope, loads, and soils
- Measure the actual slope angle in degrees or vertical:horizontal (for example, 1V:2H). Steeper slopes raise sliding risk and pin demand.
- List surcharges: fences, traffic, stacked soil, or storage above the slope. Added loads push you toward stronger grid or closer pin spacing.
- Identify the soil: granular soils interlock well with geogrid ribs; high-plasticity clays need special care and often a drainage layer to cut pore pressure.
Drainage matters
- Give water a clean path. Add a shallow interceptor swale at the crest if runoff concentrates.
- If groundwater or seepage exists, include a granular toe drain with a wrapped outlet. Standing water behind the system leads to sloughing and face slumps.
Material choices you lock early
- Geogrid type: polyester geogrid (PET) provides high modulus and low creep on long-term loaded slopes; polypropylene/HDPE grids offer chemical resistance and easy handling.
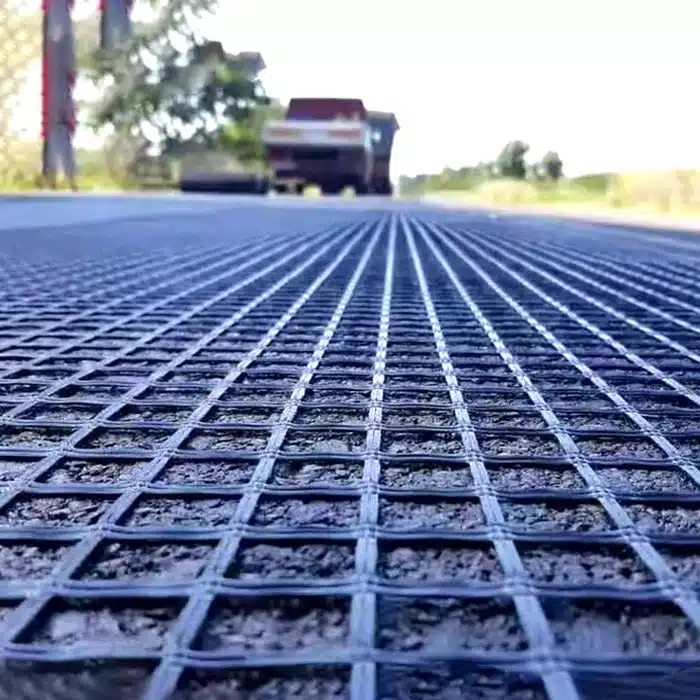
- Backfill: use well-graded, angular aggregate for a “gravel geogrid” assembly that bites into the apertures. Rounded river rock reduces interlock.
- Pins/anchors: steel pins or rebar (typ. 12–16 mm) with plate caps on soft ground. Increase length on loose fills or soft subgrades.
- Separation: add a nonwoven geotextile under the grid when fines migrate upward or the subgrade pumps.
Step-by-Step: Installing Geogrid on a Slope
You want a tight, smooth system that resists movement. Follow the same sequence every time and log each lift.
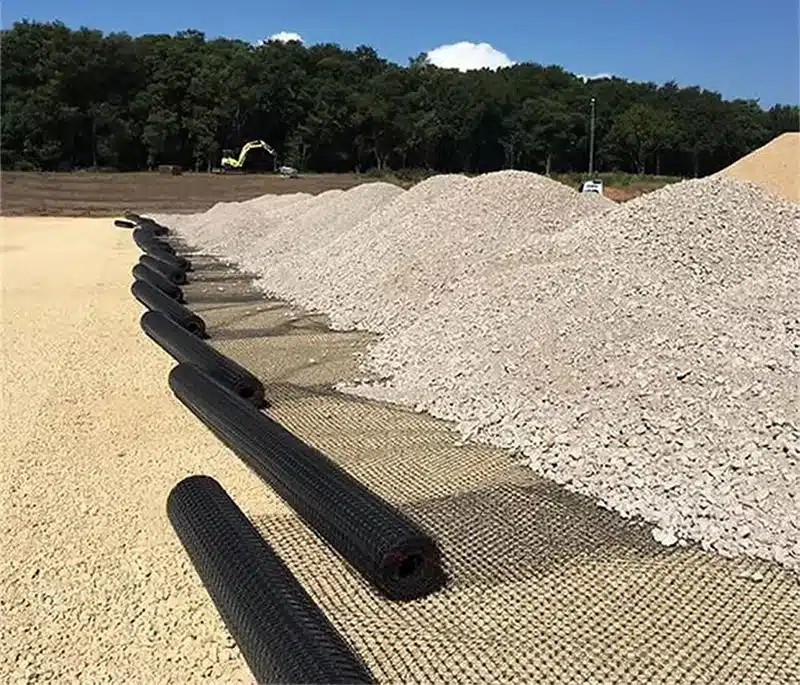
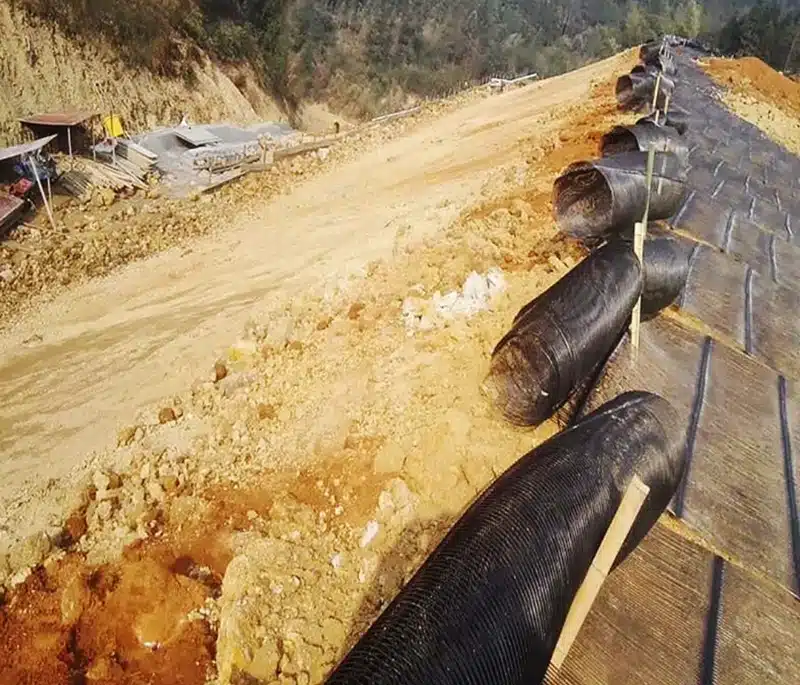
Place geogrid perpendicular to the slope face, keep it taut, stake on a pattern, and backfill in thin, compacted lifts. Lock the crest and toe with solid restraints.
Dive deeper
1) Grade, proof, and separate
- Cut and shape the slope to design. Remove organics and soft pockets.
- Proof-roll. Undercut weak spots and replace with compacted granular.
- If fines or pumping are expected, place a nonwoven geotextile separator before the grid.
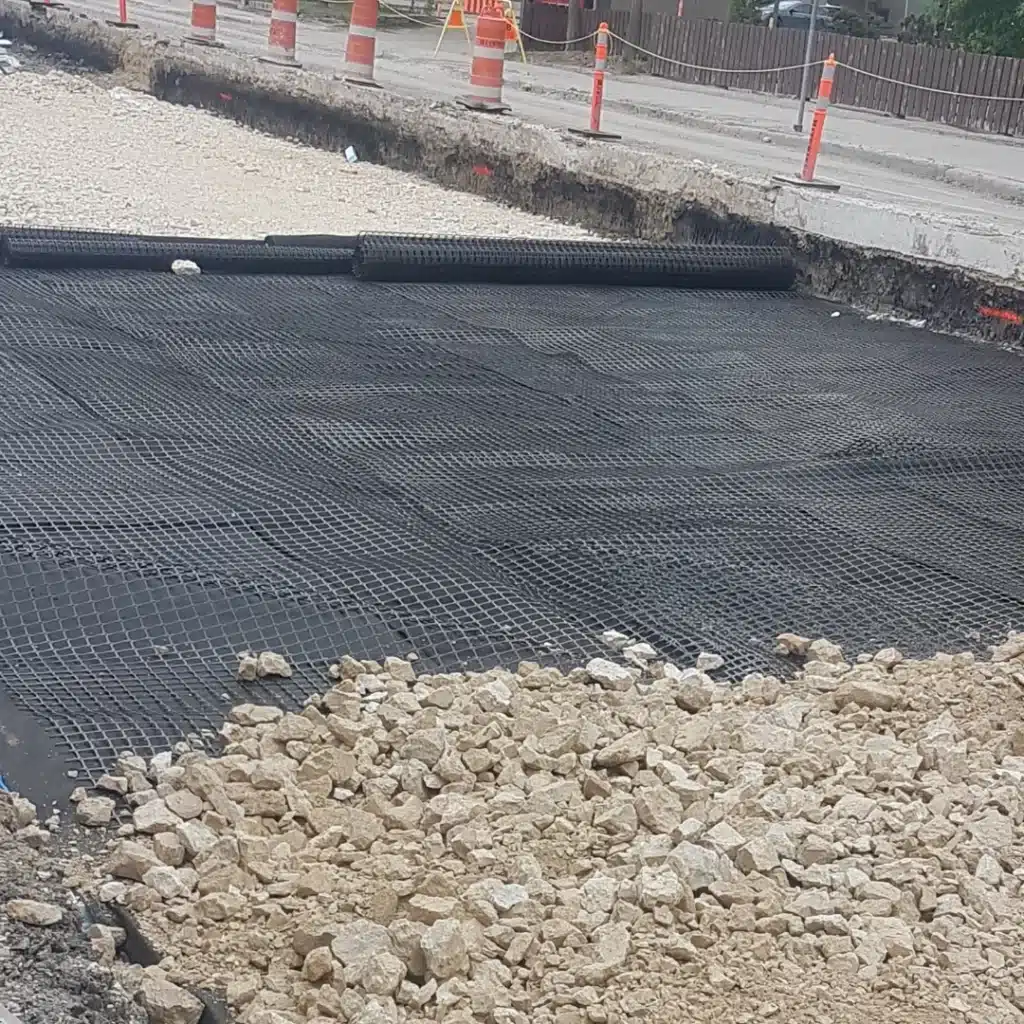
2) Place and orient geogrid
- Roll geogrid down the slope with the machine direction perpendicular to the face. This puts the strong direction along the line of movement.
- Pull it tight by hand or with a spreader bar. Remove wrinkles.
- Overlap adjacent rolls across the width 150–300 mm. Keep overlaps out of the strong direction unless the design says otherwise.
3) Pinning pattern
- Start at the crest. Install pins on a staggered grid (for example, 1.0–1.5 m both ways). Tighten spacing on steeper angles or weaker soils.
- Use plate washers on soft ground so pins do not punch through the ribs.
- Add extra pins at overlaps, transitions, and curves.
4) Backfill and compact in thin lifts
- Place angular aggregate or engineered fill in 150–200 mm lifts. Do not bulldoze across exposed geogrid; place from the toe upward or from the crest downward with protective cover.
- Compact each lift to spec with a plate compactor or small roller. Keep heavy equipment off exposed grid; maintain ≥150 mm cover under tires or tracks.
5) Crest and toe restraint
- Crest: install an anchor trench (for example, 300–450 mm deep, 300 mm back from crest) or a rigid edge (curb, beam, or keyed cap).
- Toe: key the grid into a shallow trench or tie into a rigid structure. Good toe restraint stops the whole mass from creeping downslope.
6) Finish and manage water
- Grade surface to shed water sideways, not straight down the face.
- Add turf reinforcement, hydroseed, or a thin gravel wearing layer per plan. Vegetation helps bind the surface and protect against raindrop impact.
Picking the Right System: Polyester Geogrid, Gravel Geogrid, and When Geocell Wins
You want a material set that matches your slope, your budget, and your maintenance window.
Choose polyester geogrid for long-term loads and heat stability. Use gravel geogrid with angular stone for fast interlock. Know the difference between geocell and geogrid so you pick the right geometry for very steep faces.
Dive deeper
Polyester geogrid vs other polymers
- Polyester geogrid (PET) offers high modulus and good creep resistance under sustained load. It is a solid choice for permanent slopes, high temperatures, or where long design life is critical.
- PP/HDPE geogrids bring chemical resistance and light weight. They handle many soil chemistries and are easy to cut and place. If long-term sustained loads are modest, these can be cost-effective.
Building a “gravel geogrid” assembly
- Use crushed, angular aggregate (for example, 19 mm minus) that keys into apertures. Interlock is what creates confinement and shear transfer.
- Avoid oversized rock that bridges across apertures or rounded gravel that slips.
- If the slope transitions into a traffic area or a geogrid gravel driveway, keep the same aggregate spec through the transition for continuity.
The difference between geocell and geogrid
- Geogrid is a 2D open grid that relies on interlock with aggregate and friction with soil. It is ideal when you have room for thickness and can compact lifts.
- Geocell is a 3D honeycomb (often HDPE) that forms discrete cells to confine infill in all directions. It shines on very steep slopes, soft subgrades, and channels where surface confinement matters most.
- Rule of thumb: for moderate slopes with good granular backfill and solid drainage, geogrid is fast and economical. For steeper faces, thin sections, or poor soils, a geocell layer or a geocell veneer may reduce maintenance and washouts.
Quick selection notes
- Steeper than 1V:1.5H or with high surcharges: lean to PET geogrid or add a geocell veneer.
- Warm climates and long design life: PET has an edge on creep.
- Chemical exposure or landfill capping: check resin compatibility; PP/HDPE often preferred.
- Vegetated finish: add a turf mat or thin topsoil layer above the grid; pin through both.
Conclusion
Plan drainage, tension and pin the geogrid, compact thin lifts, and lock crest/toe. Match polymer, aggregate, and restraint to the slope and loads.