Geocell Ground Grid Installation: Pro Contractor Guide
Quick take: Prep the subgrade, roll a separator, expand and anchor the geocell, infill in 4–6” lifts, compact flush, and finish the surface. Follow this sequence and U get a stiff, rut-resistant base for driveways, access roads, paths, and green parking.
What Is a Geocell Ground Grid?
A geocell ground grid is a 3D honeycomb made from HDPE that locks aggregate or soil inside each cell. The confinement gives lateral restraint, spreads wheel loads, and controls erosion—so thin sections perform like thick ones.
- How it works
- Cells confine the infill to stop sideways movement and fines pumping.
- Hoop strength distributes loads wider, cutting stress on weak subgrade.
- On slopes, cells slow runoff and hold vegetation in place.
- Where U use it
- Driveways & pads: stable, low-maintenance lanes that don’t rut.
- Trails & paths: clean edges, predictable surfaces.
- Slopes & channels: erosion control with rock or vegetated finishes.
Tools & Materials (What to Bring)
- Geosynthetics: HDPE geocell panels, nonwoven geotextile separator, connectors/keys or UV ties
- Anchors: steel pins/rebar with washers; extra at perimeters/curves
- Infill: well-graded crushed stone for traffic areas; sandy loam/topsoil for vegetated cells
- Equipment: plate compactor/roller, shovels/rakes, tape, utility knife, hammer
- Edges: timber/metal/concrete restraints for clean terminations
Ordering tip: Calculate coverage by the expanded panel area and add 5–8% for cuts and curves.
Step-by-Step: How to Install Geocell Ground Grid
1) Subgrade Preparation
- Strip organics/muck; proof-roll and fix soft spots.
- Set crown or crossfall (≥1–2%) for drainage.
- Compact to spec (typ. 92–95% Mod/Proctor).
- Very weak soils? Place a 2–4” working layer of graded aggregate and compact.
2) Separator & Layout
- Roll nonwoven geotextile full-footprint with 6–12” overlaps to stop fines migration.
- Snap lines so panels pull square to traffic.
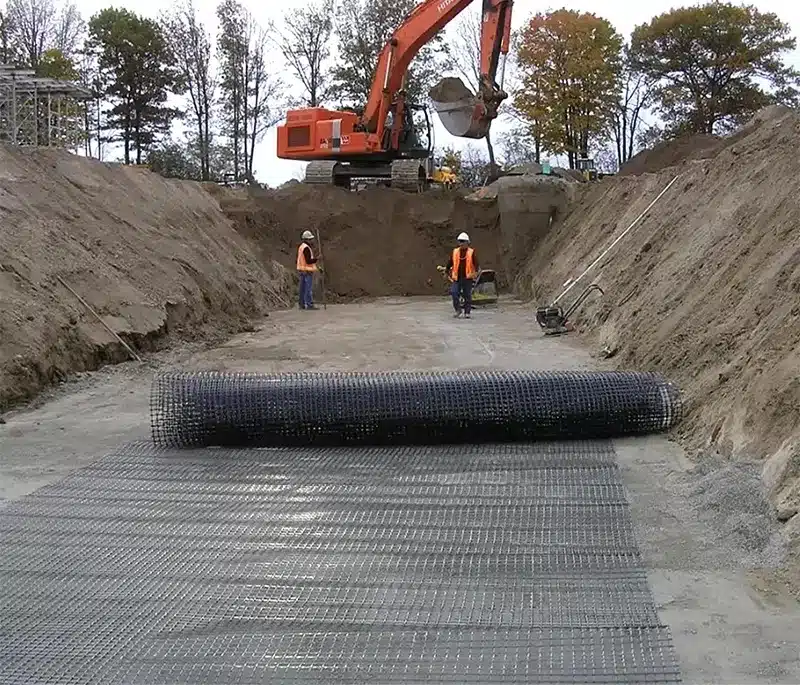
3) Deploy & Connect
- Expand the geocell ground grid fully so cells are uniform.
- Connect adjacent sheets with keys/clips or UV ties—no gaps at seams.
4) Anchor
- Pin corners, perimeters, and seams first.
- Field anchors at ~3–5 ft (0.9–1.5 m); tighten spacing at curves, crowns, and transitions.
- On slopes, add crest anchors/tendons per design.
5) Infill & Compaction
- Place infill in 4–6” (100–150 mm) lifts.
- Traffic surfaces: 3/4” minus, well-graded aggregate.
- Green/grass: sandy loam/topsoil; seed after compaction.
- Compact each lift to refusal. Finish flush with cell tops (no overfill mounds).
6) Finish & Tie-Ins
- Aggregate finish: add a thin choke for smoothness.
- Vegetated finish: seed and protect until roots knit.
- At asphalt/concrete edges, tuck the grid 6–12” under to prevent shoving.
Application Notes (Driveway & Grass)
Geocell Ground Grid for Driveway
- Typical section (light vehicles): 6” cells over nonwoven geotextile; 3/4” minus infill; compacted in two lifts; thin choke.
- Turning/Bin areas: 8” cells plus tighter anchor spacing.
- Edge control: restraints or tuck-under at hardscape interfaces.
Grass Parking / Fire Lanes
- 4” cells; sandy-loam infill; seed and protect during establishment.
- Add subsurface drains on tight clays; limit traffic until the turf binds.
Gravel Alternatives
- A confined gravel driveway performs cleaner than loose stone: less scatter, less rutting, better drainage.
Common Mistakes & Fast Fixes
| Mistake | Why It Hurts | Fix |
|---|---|---|
| Skipping geotextile | Fines migrate; stiffness drops | Full-footprint separator with overlaps |
| Sparse anchoring | Panels creep at edges/curves | Tighten pin spacing at perimeters & transitions |
| Overfilling cells | Shoving/ruts under traffic | Finish flush; only a thin choke on top |
| Weak/wet subgrade | Settlement and pumping | Undercut/bridge with working layer; re-compact |
| No drainage plan | Freeze–thaw heave, soft edges | Maintain crossfall; provide outlets/edge drains |
QA/QC & Quick Spec Checklist
- Cell height: 4” paths/green, 6” drive lanes, 8” heavy turning.
- Materials: UV-stabilized HDPE; documented weld strength.
- Accessories: Anchors, connectors, edge restraints, geotextile.
- Submittals: Installation method statement, test data, O&M notes.
- Verification: Density achieved, straightedge tolerances, clean tie-ins.
Where Geogrid Fits (and Why U Might Add It)
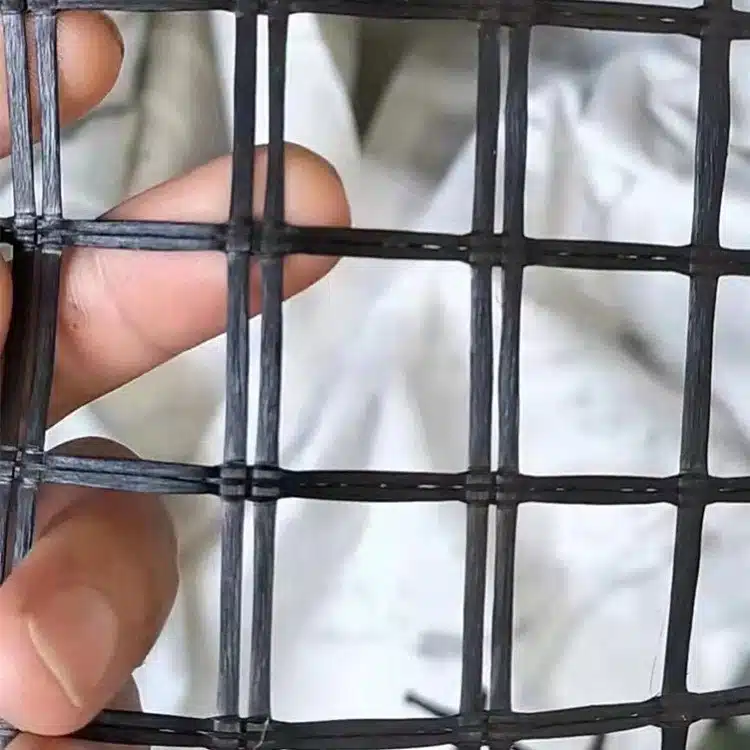
Geocells handle 3D confinement. A geogrid delivers planar tensile reinforcement and interlock in base layers or reinforced soil structures. On some projects, U combine both.
- Base/Subbase stabilization: Use biaxial geogrid under or within the aggregate to raise stiffness before geocell goes down (weak subgrades, heavy cycles).
- Walls/steep slopes: Uniaxial polyester geogrids offer low creep and strong pullout with granular backfill.
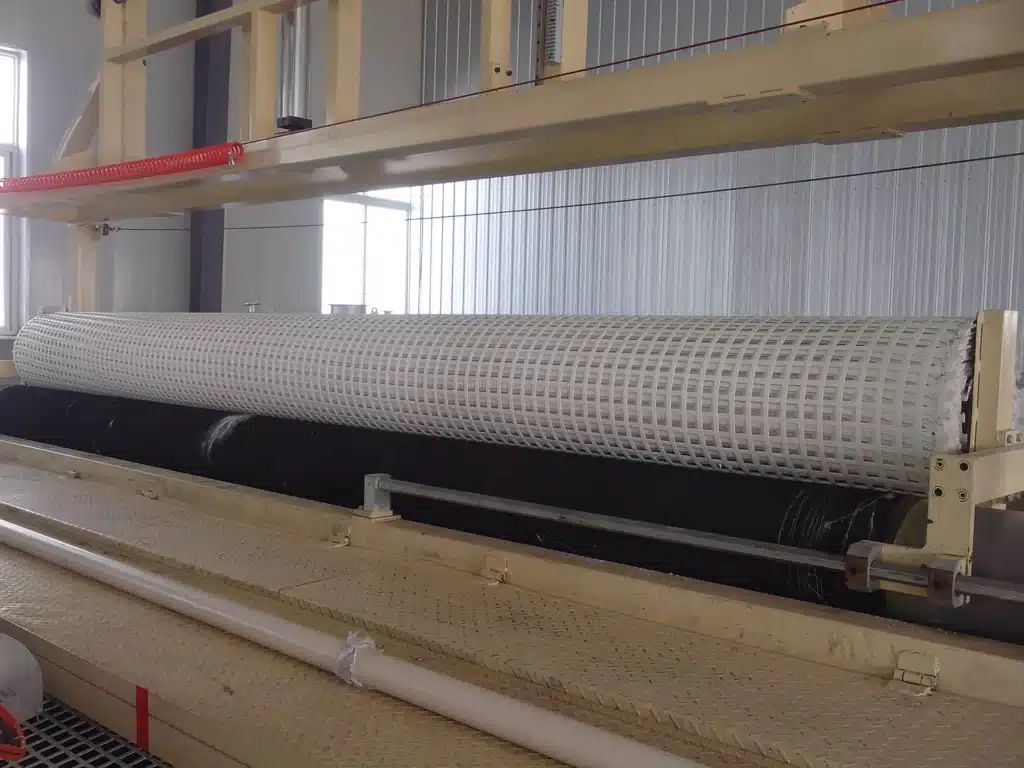
Material choices:
- Polyester geogrids / polyester woven geogrids / woven polyester geogrids
- High tensile modulus at service strain; excellent long-term creep control.
- Common for MSE walls and steep slopes; often coated (e.g., PVC) for durability.
- Polyester geogrid in particular shines where long design life and sustained loads matter.
- Polypropylene/HDPE biaxials are quick performers for haul roads and yards where two-way restraint is needed fast.
Conclusion
If U want a thinner, tougher base that stays smooth under weather and wheels, install a geocell ground grid using the sequence above—sound subgrade, separator, straight deployment, tight anchoring, dense infill, and clean tie-ins. For weak subgrades or reinforced earth tasks, add geogrid—especially polyester geogrids (including polyester woven geogrids / woven polyester geogrids)—to deliver the tensile capacity soil lacks. Do this, and U hand over driveways, pads, slopes, and green parking that perform like they should—season after season.